Easy Glass Buttons
 For a long time now, I’ve been wanting to figure out how to make a glass button. There is a lot of material out there but most of it describes ways to create glass buttons in Adobe Photoshop. Instead, I wanted to create a glass button in Adobe Illustrator so I would have a resolution independent solution.
Tonight I went looking again and I came across a link to a Photoshop action file that would create one of these bad boys. I decided to try the action and see if I couldn’t reverse-engineer the button.
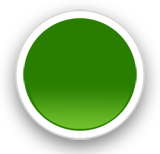
As luck would have it, the action created a nice layer file for me to play around with. The green button you see to the left is actually missing two steps that add a final polish to the Photoshop button. The green button to the right was generated by the Photoshop action. It has a nice bottom and top “halo” blur that I had trouble reproducing in Illustrator.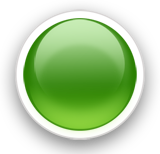
I think at first glance they both look good. Upon further inspection I must admit that the AMR Photoshop action button looks better. I’m not going to try and fix that bottom and top halo in this post. Rather, I’ll just describe how I reversed engineered the action (as far as I did) and how I created the simpler button in Illustrator.
First, I inspected the layer file created by the button. It resembed the layers shown here:
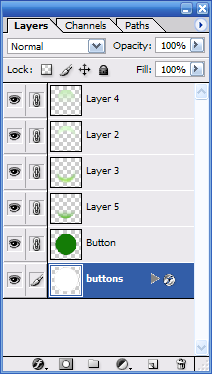
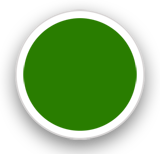
My task was basically to figure out what was happening in layers 5, 3, 2, and 4. I’m going to ignore the white outer disk since it’s just a white disk with a drop shadow effect applied to it. The other layers are more interesting. If I were to turn off all of the layers, I get a simple flat color disk as follows:
If I turn on Layer 5 (only), I see this:
Well, that’s easy!
It’s a circle with a vertical gradient fill using the screen compositing effect. The screen effect “screens” the background based on the color in the screening object. Usually you just use black and white where black does nothing and white screens shows up 100%. Since I don’t want the white to actually show as white, I adjust the transparency to 50%. This yields me an illustrator image that looks like so (click to enlarge):

What you can’t see is that the fading circle is just a circle, filled with a white to black gradient. There are a few other things to take note, too. First, I set “screen” as the compositing mode for the gradient object. Second, I adjusted the midpoint of the gradient toward the white end of the spectrum. This made the circle “disappear faster” as you go upwards.
The next layer in the Photoshop file I couldn’t figure out in Illustrator. It’s some kind of glow. This is what it looks like on its own:
The next layer, layer 2, is just like layer 3 so I’ll skip it.
The next layer, layer 4, is basically the same as the first layer, layer 5, but it’s flipped upside-down and it’s “stronger” (has less transparency) and is a bit smaller. This is what it looks l ike by itself:

To implement this, I used these settings in Illustrator (click to enlarge):
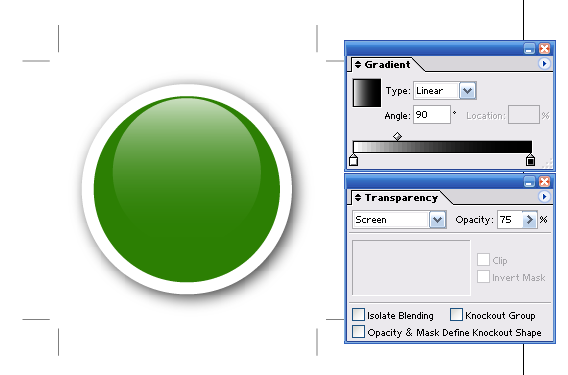
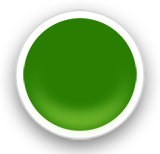
Notice the differences from the first layer. The opacity is 75% instead of 50%. Plus, the black/white gradient disc is smaller. In the end, we get a nice button that looks like the one in the upper-left corner of this blog, viola:

Now that I have this kind of button, and the knowledge on how to make it, I can jazz up all of my graphics with it. If you were interested in poking around with the Illustrator file, you can get it here.
Finally, the discussion really wouldn’t be complete without some resolution independent eye-candy!

In a future post, I’ll try and figure out that halo blue and I’ll create rectangular glass buttons since those have a completely different glass effect. Until then, enjoy!